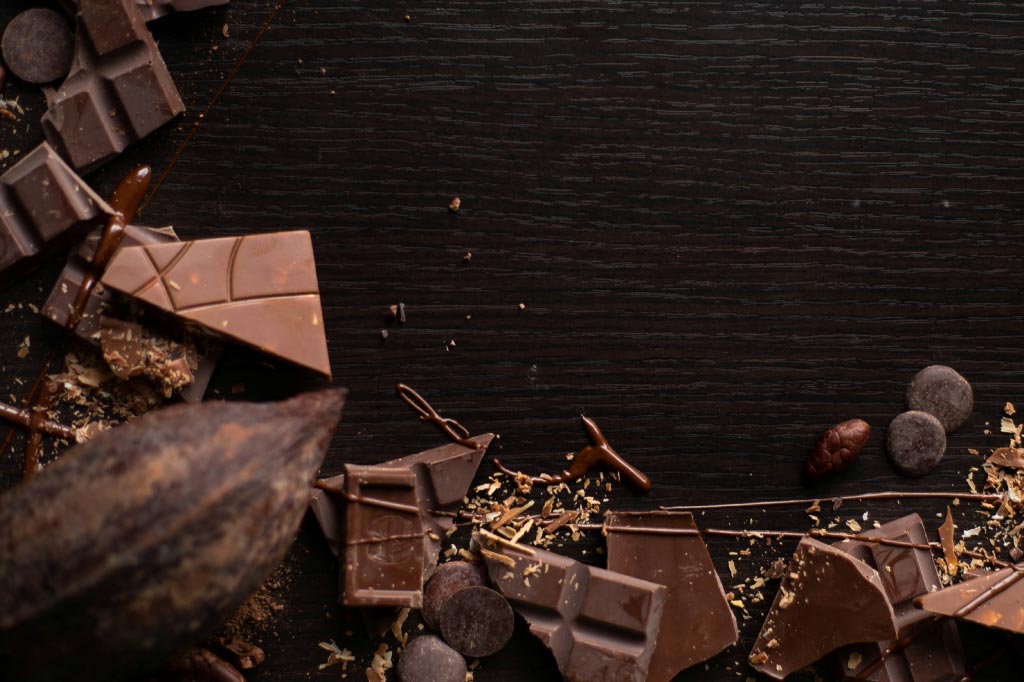
With Valentine’s Day right around the corner, many people are looking for ways to impress their significant others this month. Chocolate dipped strawberries are a classic gift for the season that seldom go unnoticed. They are simple, yet elegant treats that symbolize love, romance, and our appreciation for our partners. The snap that you feel as you bite through the thin chocolate layer into a fresh strawberry is quite satisfying, and if you’ve ever tried making them yourself, you have likely realized that creating that delectably crisp layer of chocolate is a bit more involved than just melting down some chocolate chips.
That characteristic snap is from a process called “tempering” which can be difficult to master, but quite impressive. Instead of just buying chocolate covered fruits this Valentine’s Day, why not try and up your game by making them yourself? Once you understand the process, coating strawberries or cookies in chocolate with your significant other can be a fun activity to finish up a date night.

General Process and Temperatures
The tempering process revolves around controlling the temperature of melted chocolate in a way that causes the final product to set at room temp, creating a smooth, glossy exterior and a crisp texture. The best type of chocolate to use for tempering is called “couverture,” which contains a greater percentage of cocoa butter, giving it a better texture. There are a few different methods of tempering, but all of them involve the same basic steps.
Step 1: Melt the chocolate and heat it to a high temperature, dependent on the type of chocolate used.
Step 2: Reduce the chocolate’s temp until it is below the ideal working temp.
Step 3: Raise the temp once again to the ideal working temp for your type of chocolate.
Bain-Marie Method
This method involves using a double boiler to heat the chocolate, an ice bath to cool it, and a candy thermometer to measure the temperature.
- To create a bain-marie, set a heat proof bowl on top of a pot of boiling water.
- Melt the chocolate in the bowl, being careful not to let any water splash into the chocolate. Using a thermometer, continuously measure the temperature of the chocolate until it reaches T1. It is important to stir constantly to prevent burning or cooling.
- Once T1 is reached, remove the bowl from the pot of boiling water and place it in an ice bath. Keep stirring and sampling the temperature until it drops to T2.
- Finally place the bowl of cooled chocolate back on the bain-marie and bring the temp back up to T3.
- Dip whatever you would like into the chocolate or pour it into a mold and let it cool at room temperature until hardened.
Using Seed Chocolate
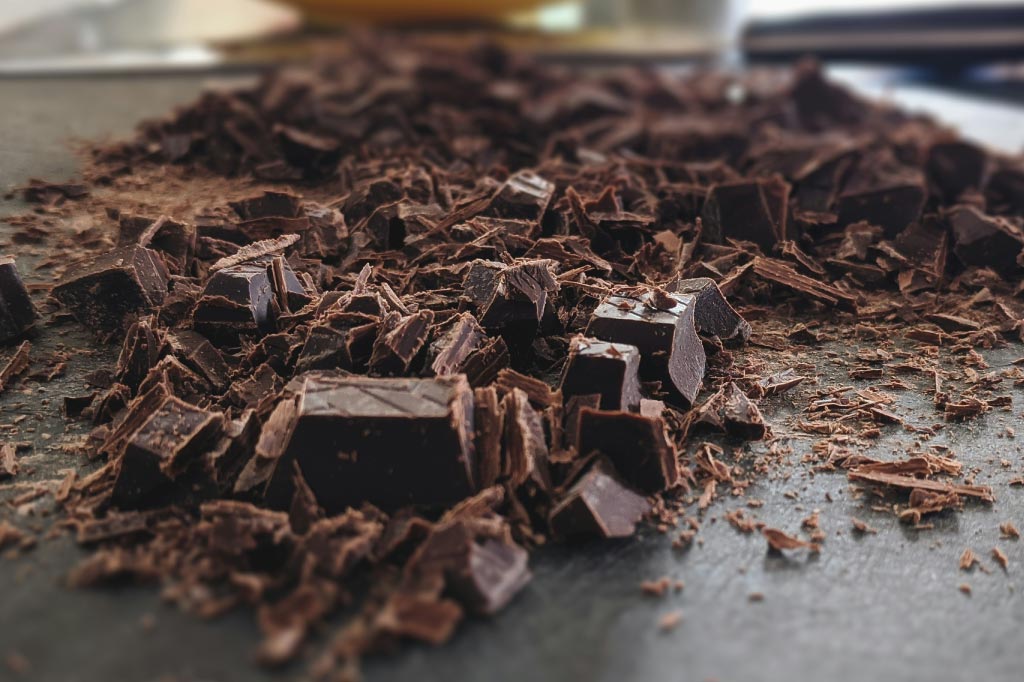
This technique still involves the use of a bain-marie, while also requiring that you reserve a portion of your unmelted chocolate for use later.
- Roughly chop and set aside about 1/4th of your chocolate.
- Using a bain-marie, melt the remaining chocolate and bring it to T1.
- Once T1 is reached, remove the bowl from the bain-marie and add the chopped chocolate, stirring constantly until T2 is reached.
- Place the bowl back over the bain-marie and heat it to T3.
- Dip whatever you would like into the chocolate or pour it into a mold and let it cool at room temperature until hardened.
Sous Vide
Instead of using a double boiler as in the previous methods, a sous vide can be used to eliminate the risk of burning your chocolate. It is an easier and more passive method of tempering, but is better suited for molding chocolates than dipping.
- Set up the sous vide in a pot of water and set it to circulate water at T1.
- Once the sous vide reaches the target temperature, place the chocolate in a tightly sealed ziplock or vacuum sealed bag and set it in the sous vide pot. It may float at first, but will start to sink as the chocolate melts.
- Allow the chocolate to melt fully and all come to T1 in the sous vide (about 20 minutes). There is no risk of overcooking with the sous vide method, so the chocolate can be left in the water bath longer if needed.
- To cool the chocolate to T2, stop the sous vide from heating, remove half the water from the sous vide pot, then replace it with ice water until the sous vide reads the target temperature.
- Allow the chocolate to sit in the T2 water for long enough for the chocolate to drop to T2 (about 10-15 minutes).
- After the chocolate has cooled, set the sous vide to T3 and allow the chocolate to return to the ideal working temperature (about 10 minutes). The chocolate can stay in the sous vide pot at T3 until you are ready to use it.
- The bag of chocolate can be easily cut to pipe into molds or opened for dipping.
How To Use Tempered Chocolate
Once made, tempered chocolate has a variety of different applications. It can be piped into custom molds, or used to draw little chocolate flowers. Strawberries are a classic option for dipping, but have you tried shortbread cookies? Try using a heart shaped cookie cutter on this easy shortbread recipe for an extra special Valentine’s Day treat!

Shortbread Cookies
Ingredients:
- 2 Cups all purpose flour
- 1 Cup butter (softened)
- ½ Cup sugar
- 1 Tsp vanilla extract
- ¼ Tsp salt
- Mix the flour and salt together in a medium bowl.
- With an electric mixer, cream together the softened butter and sugar, then mix in vanilla.
- Add in flour mixture and mix until just combined. Don’t overmix, the dough will be crumbly.
- Wrap the ball of dough in plastic wrap and press into a rough disc shape, then refrigerate for 1-2 hours.
- Let the dough sit at room temp for 10-15 minutes while the oven preheats to 350F.
- Roll out the dough into a thin sheet and cut into heart shapes.
- Bake at 350F for 8-12 minutes until lightly browned on the edges
Looking For A New Home?
Check out these active listings!
3767 Durness Way
$1,995,000
4 Bedrooms – 3 Full & 2 Half Baths
4,759 Sqft – Built 2023
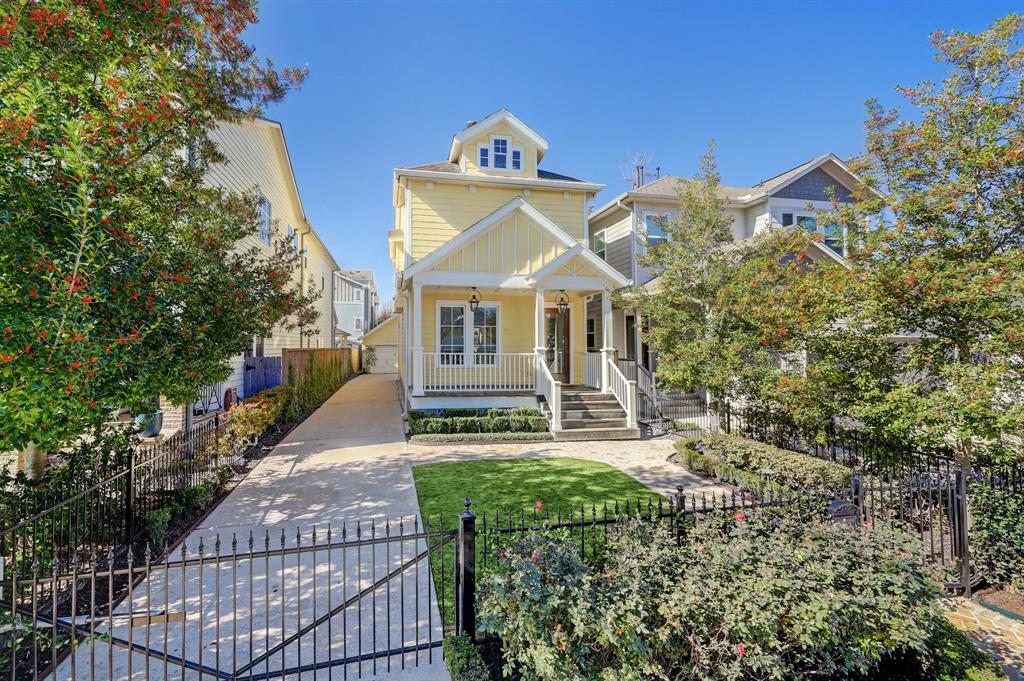
709 Waverly St
$799,000
3 Bedrooms – 3 Full & 1 Half Baths
1,854 Sqft – Built 2001
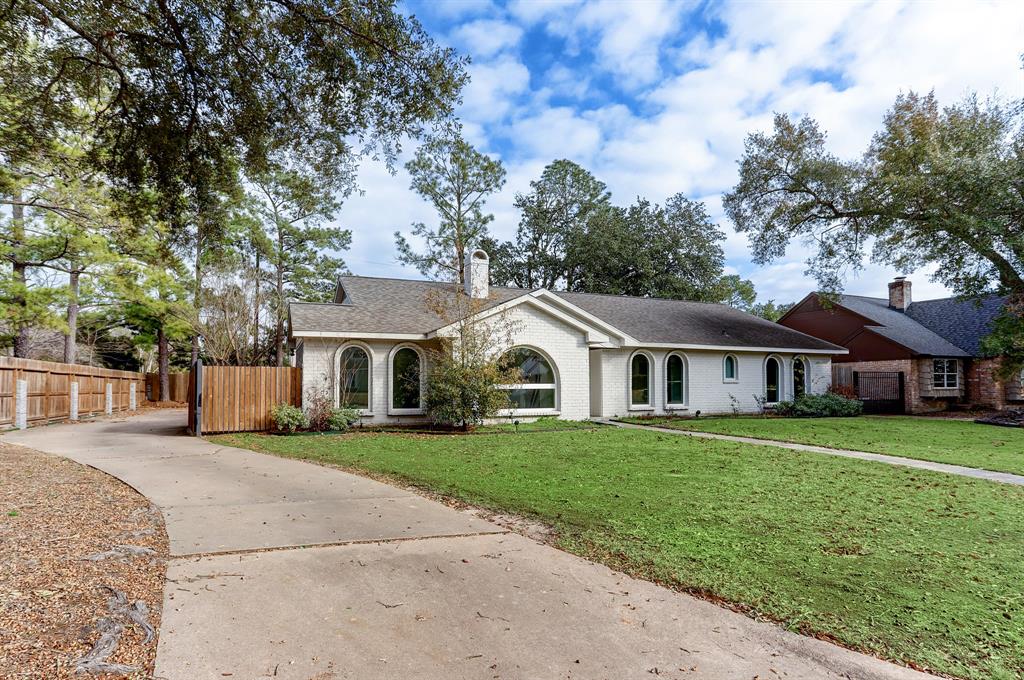
2754 Shadowdale Dr
$579,000
4 Bedrooms – 3 Full & 1 Half Baths
2,651 Sqft – Built 1971
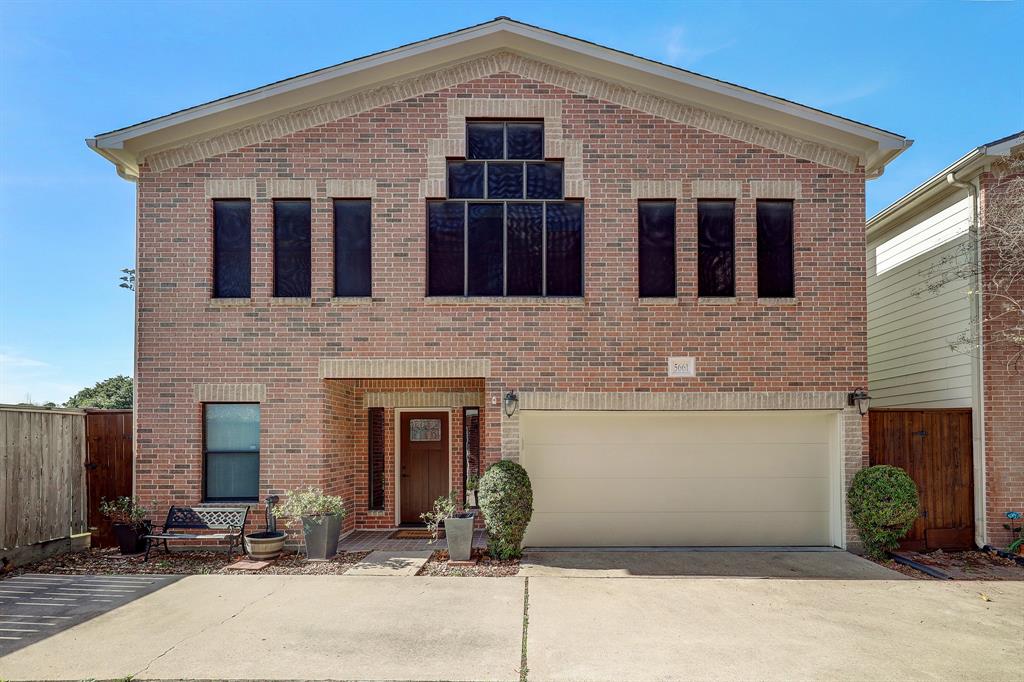
5661 Larkin St
$443,900
3 Bedrooms – 2 Full & 1 Half Baths
2,161 Sqft – Built 2003
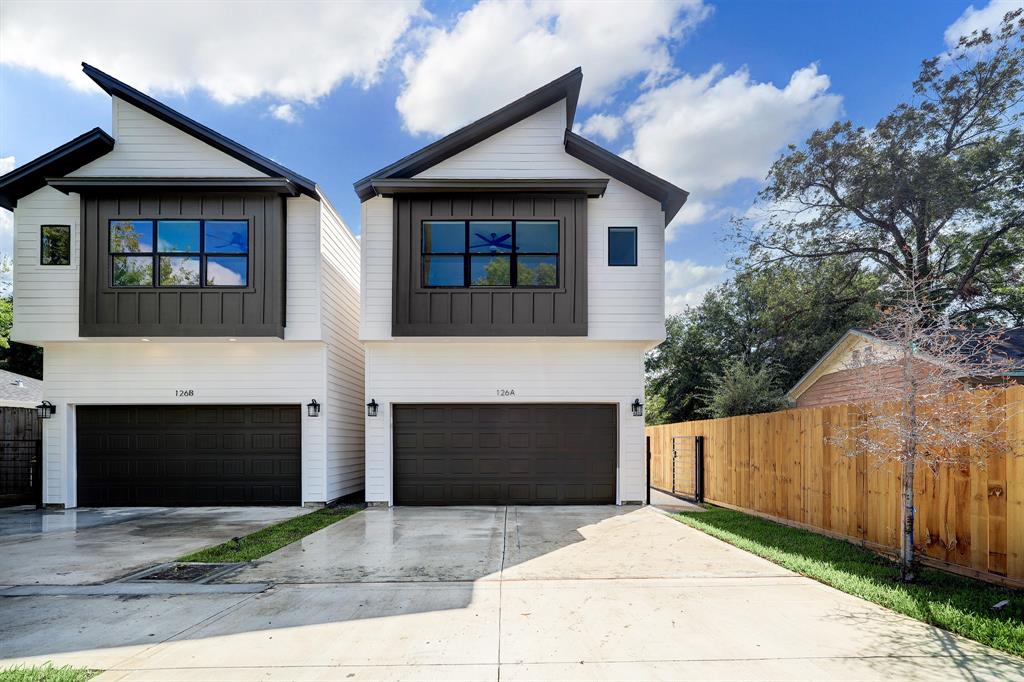
126 Amundsen St B
$429,000
3 Bedrooms – 2 Full & 1 Half Baths
1,814 Sqft – Built 2023
5911 Dry Brush Pl
$277,000
3 Bedrooms – 2 Full & 1 Half Baths
1,648 Sqft – Built 2021


